Anchoring Spot in Local Operations
Pre-requirements:
- You have planned the desired robot routes for the Robot Map.
- You have placed Fiducials at strategic locations on your site to enable effective localisation and map anchoring.
- You have a way to survey these in or can take an accurate LiDAR scan of the environment post installing these to align them to.
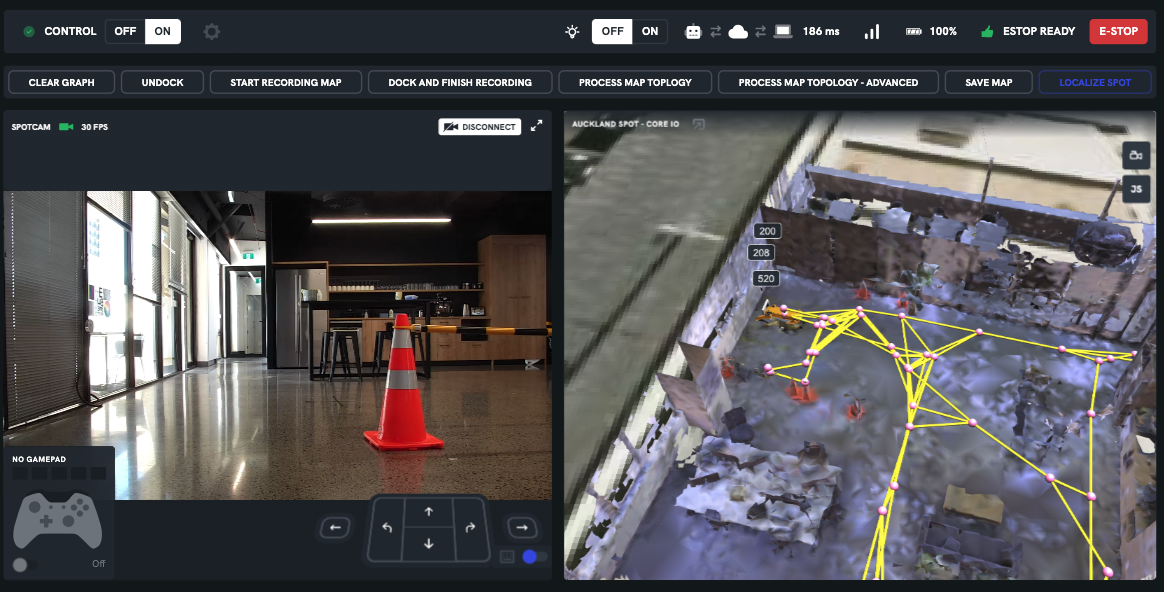
1. Load/Create an Autowalk or record a new map
Using the Boston Dynamics Controller, create an Autowalk or load an existing Autowalk onto Spot covering your entire site making sure that shortcuts are enabled.
The other option is to record a new map using the "Record Map" dashboard in the Spot Robot Profile.
2. Save your map
In the robot teleoperation dashboard, use the Autowalk Widget and click "Check For New Autowalk", give your Autowalk a name and save.

Note: If you in this step end up with multiple Autowalks, make sure you select the Autowalk you want to anchor and choose Load Spot Map before you go over to Local Operations to Anchor the map.
If you have recorded a new map using the "Record Map" dashboard then you can save the map from that dashboard and give it a name.
3. Add Spot's map to Local Operations
- In your local operations instance, make sure you have your Spot robot added
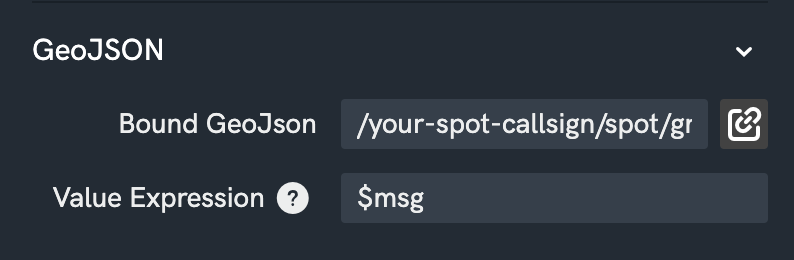
- Go to the Scene palette and choose Add Object > GeoJSON
- Select the GeoJSON and bind it to /your-spot-callsign/spot/graphnav/graphGeojson and Spots map appears in your scene.
4. Create Control Points
You will need a .csv file containing details about your control points to complete this step. There are two supported formats;
name,x,y,z,roll,pitch,__heading
name,x,y,z,roll,pitch,heading
my first point,1,2,3,0,0,0
my second point,4,5,6,0,0,3.14
Note: Roll pitch and heading are defined in Radians.
name,x,y,z,bearing
name,x,y,z,bearing
my first point,1,2,3,45
my second point,4,5,6,90
Note: bearing is defined in degrees
- In your local operations instance, go to the Scene palette and choose
_Add Object > Control Points._ - Select the newly created Control Point Group.
- Choose Upload File and pick your .csv.
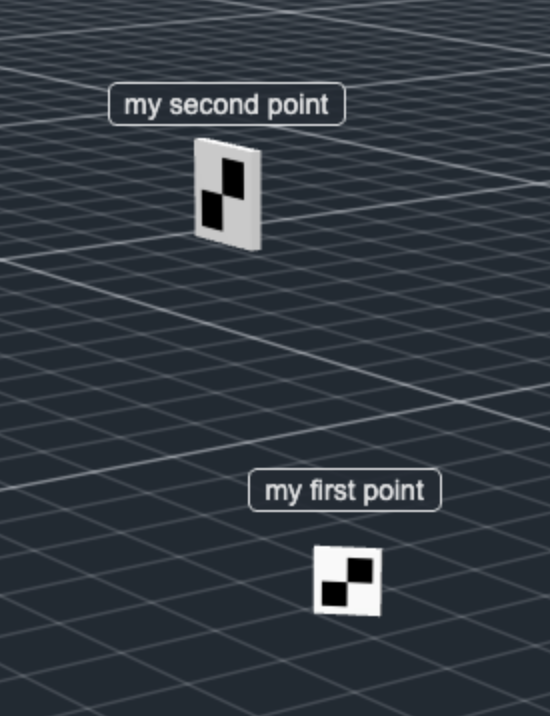
- You should now see your control points:
- If you don't have surveyed locations for you control points, then you can bring in a geolocated 3D model from DroneDeploy and manually move and orientate the control points to best match up with the 3D model.
5. Anchor Spot
- In the Robots panel add Spot to your Local Operation.
- Select Spot, and expand the Map Anchoring section of the Settings palette on the right hand side. Here you will see all the Fiducials available in the map currently loaded on Spot with their assigned World Object Id.
- Select the Axis and Control Point you would like to use and choose Anchor. This process does take a little while before your GeoJSON map has been updated. You should see the map move and align with the control points you selected.
- For Spot if you call your control points the same name as the Fiducial ID (201, 202, 203 etc.) then it will try and auto match them.
- You can anchor again at any time and just anchor to a selection or all of the control points.
- Once you are happy with the anchored map, then click save map on your "Record Map" dashboard
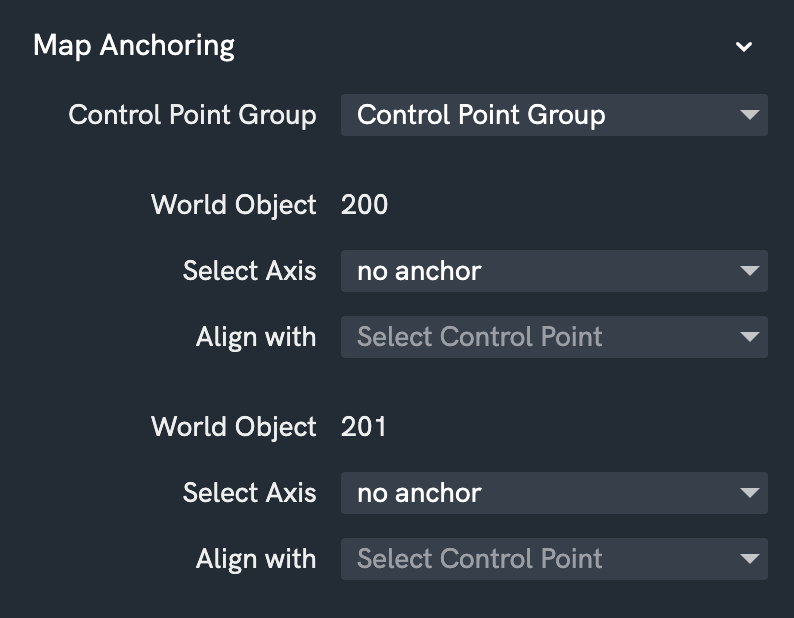
Note: Any World Objects left at no anchor will be ignored in the Anchoring process.