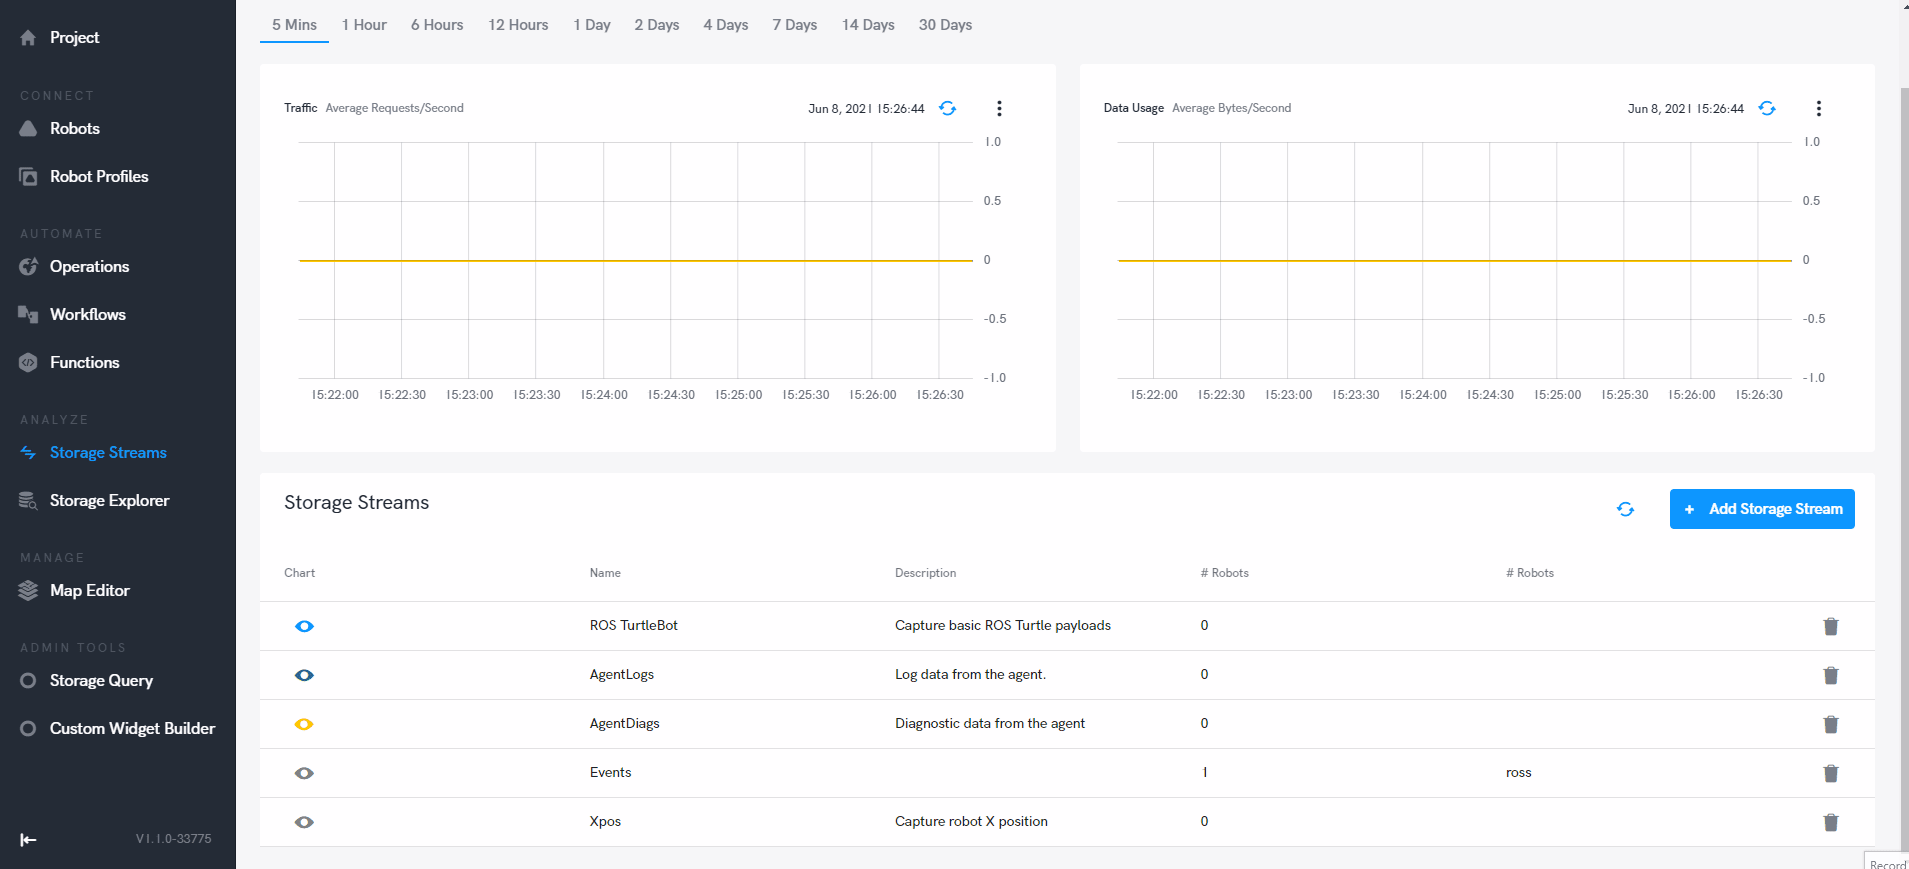
Storage Streams
Storage streams can be defined and managed in the Storage Streams section. Storage Stream definitions contain the specific data payloads that you want to capture, and how often.
You can then choose which stream definitions to apply to your robot(s). You will need a robot connected in order to select which topics you would like to subscribe to, these can then be applied to the profile or robot directly.
Create a Storage Stream
Data in Storage Streams is only stored for 30 days. This data can be pushed to your own warehouse if required.
To begin setting up a storage stream you will first need to navigate to (Analyze > Storage Streams), there you can create a new stream through the "+ Add Storage Stream" Button.
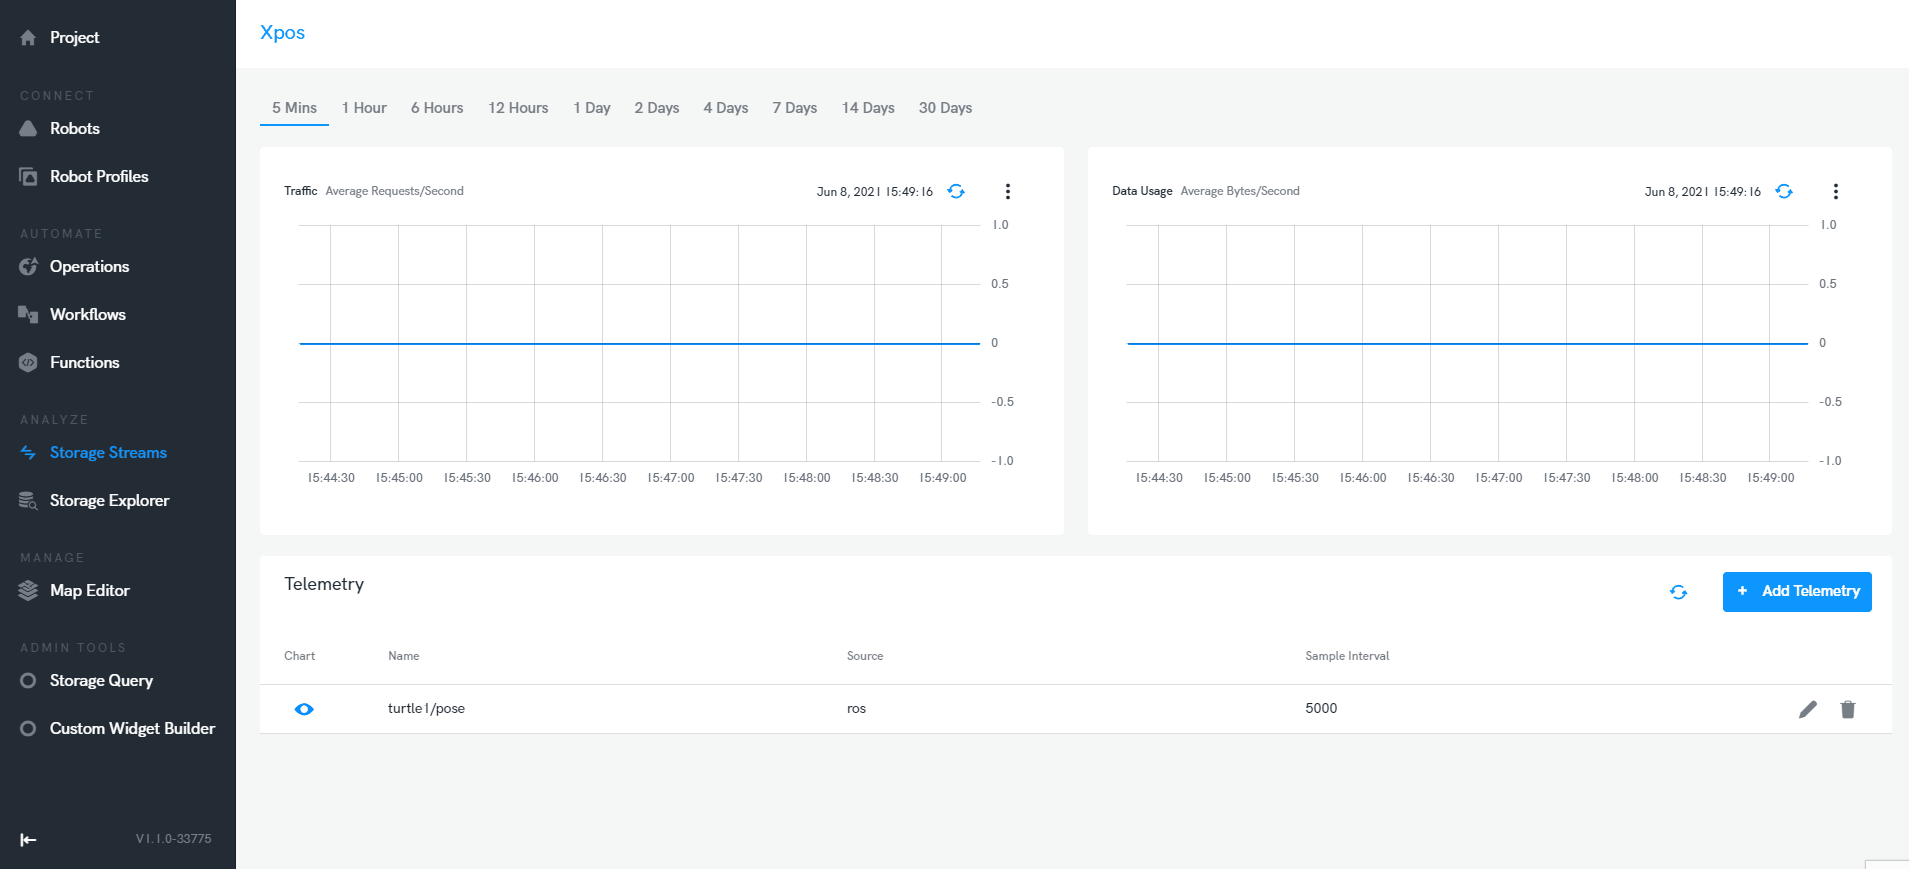
You will then need to define the types of data streams that you plan to record on each robot (need a robot connected for this process). Do this by clicking on the newly created storage stream and adding a telemetry item via the "+ Add Telemetry" button. This will bring up a window where you can use the data picker to select which data stream you would like to subscribe. The polling rate can also be defined in this section.
Apply Storage Stream to a Robot or Robot Profile
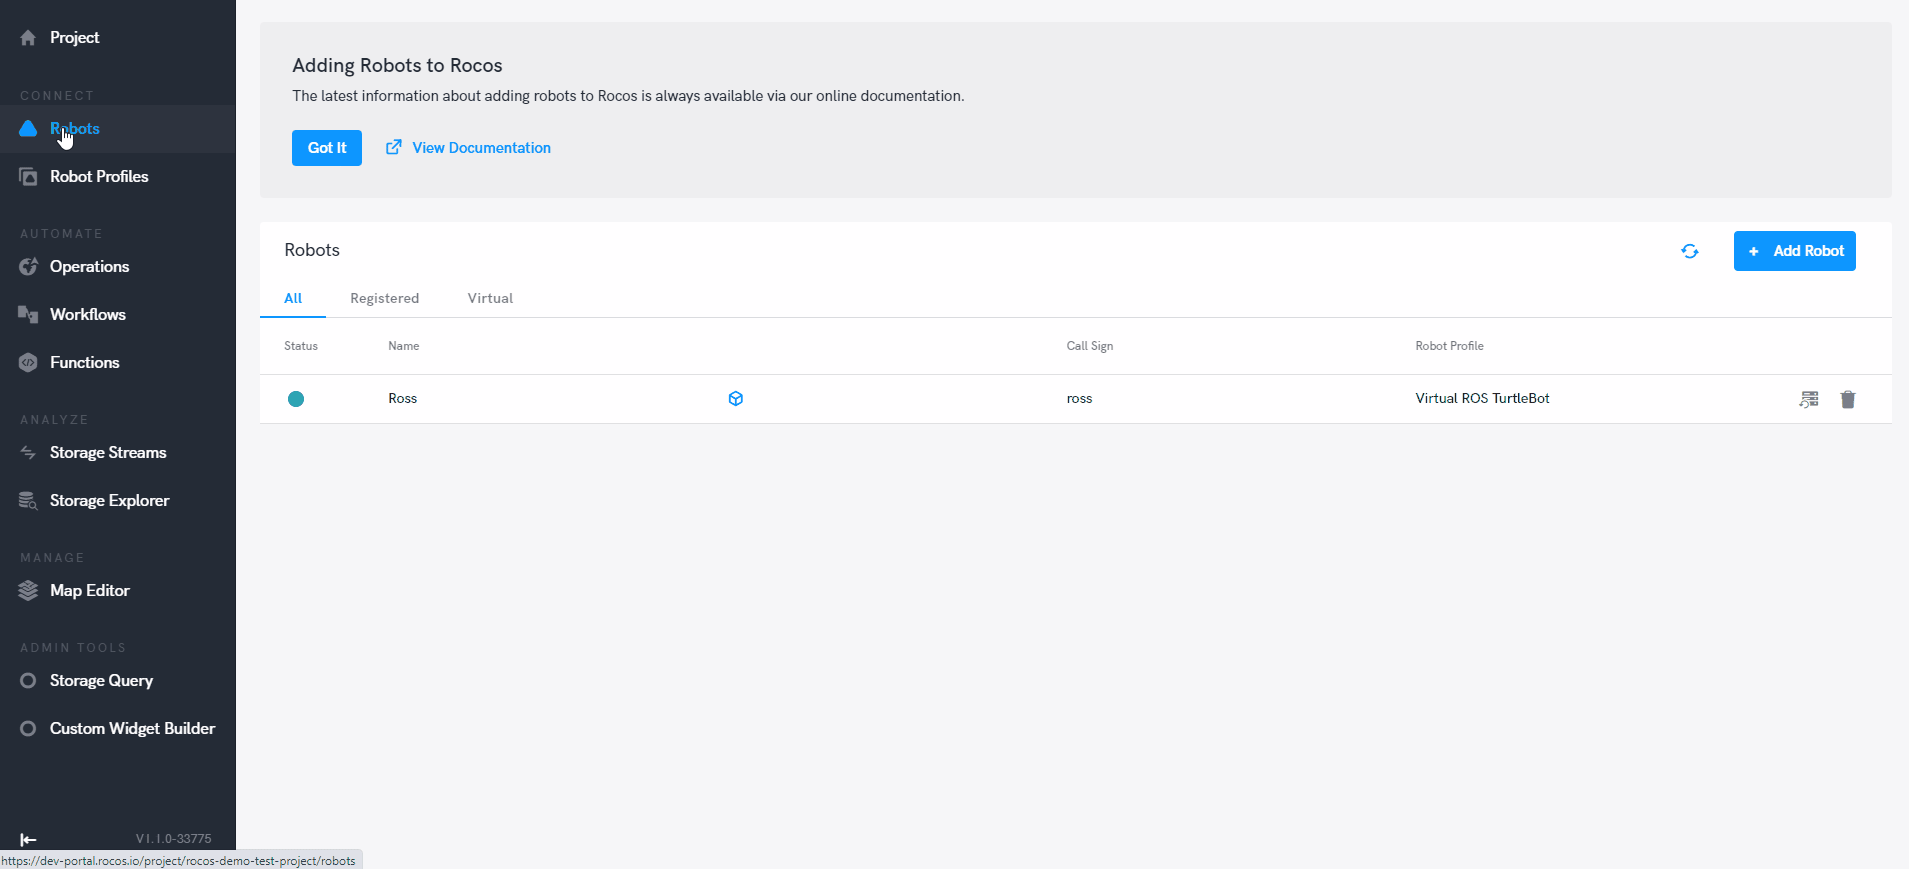
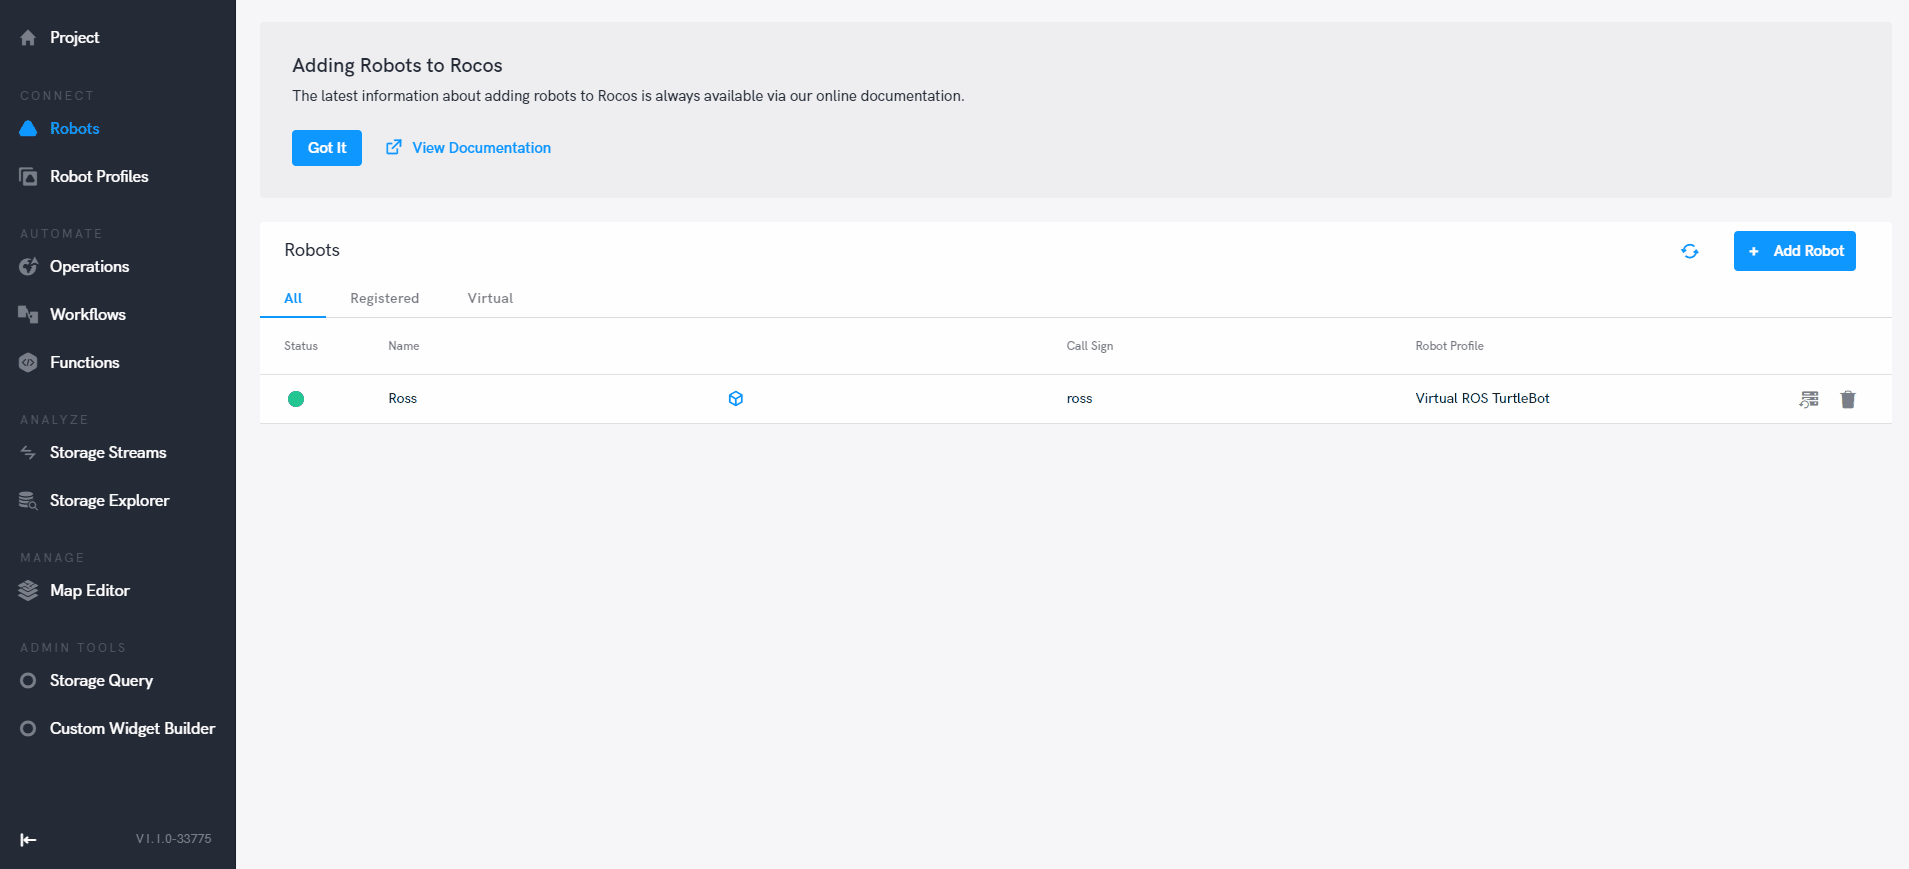
Once you have setup a storage stream, the next step is applying the stream definitions on you robot(s) in order to record data. This is done by navigating to (Connect > Robots > your-robot > Storage Streams). Here you can enable which stream you would like to capture on your robot via the storage stream toggles. Recorded data can then be accessed via the storage explorer.
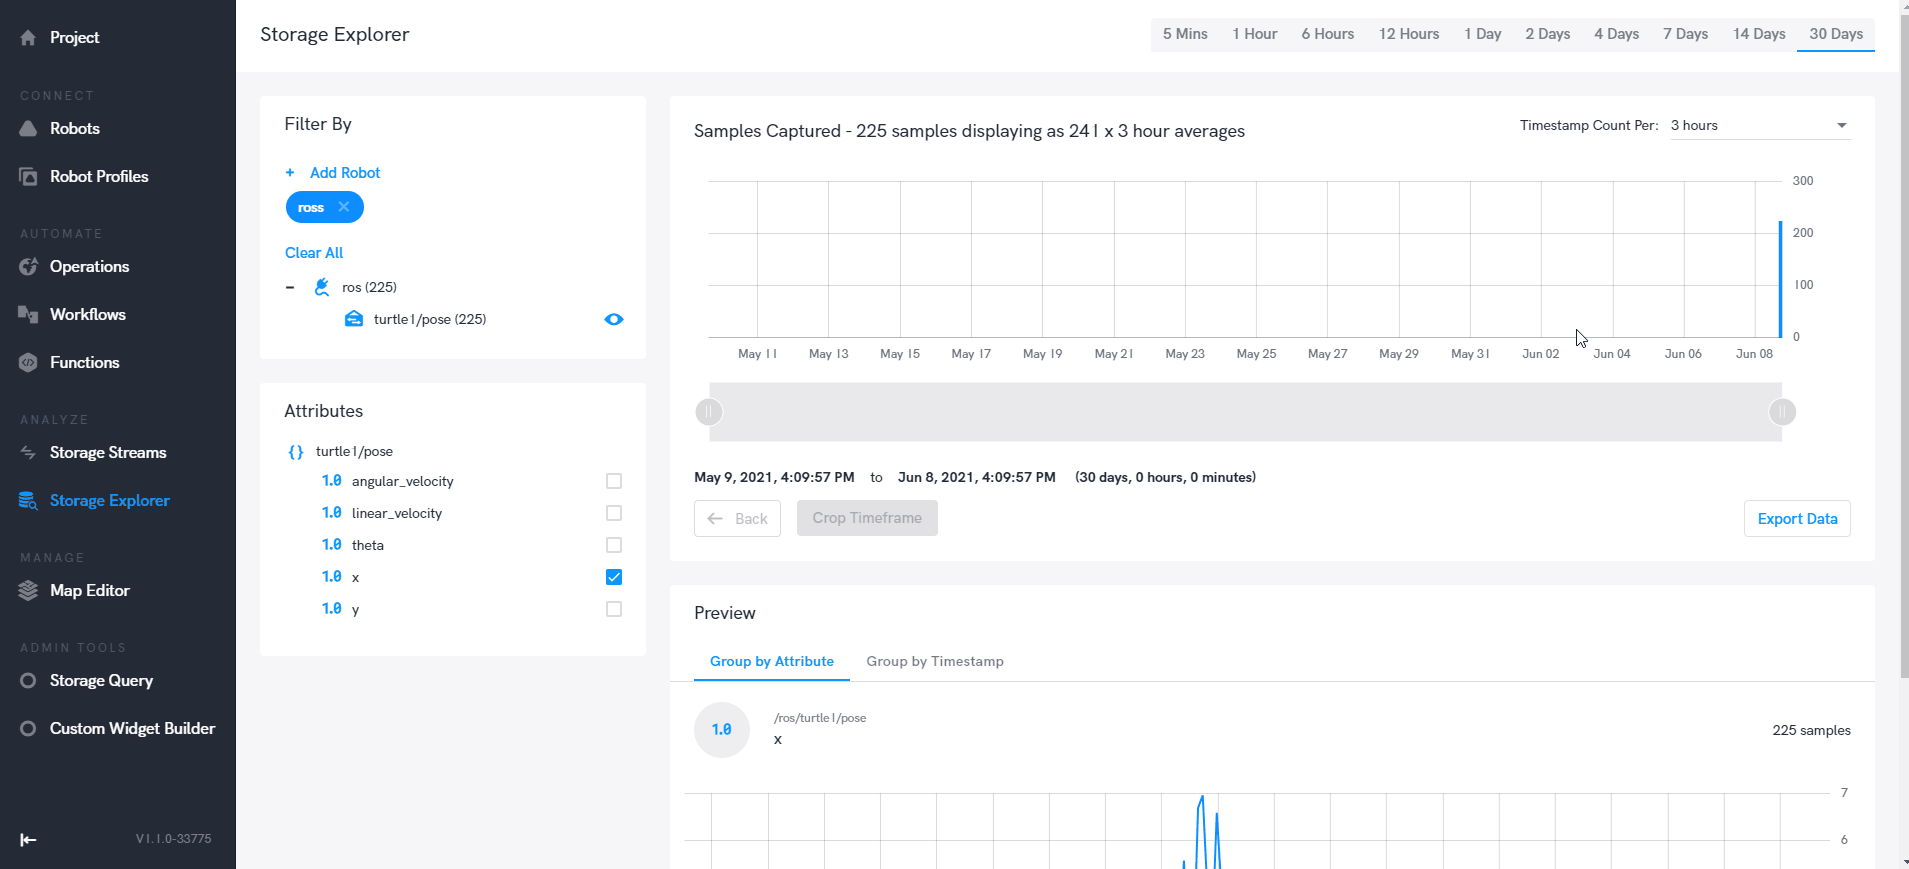
Storage Explorer
The Storage Explorer is a separate section in the DroneDeploy Robotics Portal for exploring all historical data stored via your robots' applied Storage Streams (see Streaming Data). In the Storage Explorer you can view your data by a timeframe (5 minutes - 30 days). By default the Storage Explorer will show you all data from all robots for the selected timeframe. To view data for a specific robot, add it as a filter. The Attributes panel can be used to get a focused view data via the Preview panel.
You can click and drag on a portion of the bar graph to zoom in. Then click "Crop Timeframe" to set that portion as the timeframe - this filters the data preview. You can keep doing this to drill down to find a specific payload.
Controlling Upload Bandwidth
Storage Stream data is uploaded to the platform in the background by the Agent's persistent telemetry pipeline. This upload is coordinated by the Transfer Manager component, which means its bandwidth usage can be constrained using Transfer Manager policies.
This is useful when the robot is operating over a link with limited capacity and you need to ensure that background telemetry uploads do not interfere with real-time control or video traffic.
For example, the following Transfer Manager configuration limits background uploads to 1 MB/s while the robot is in a "busy" operating mode, and allows full-speed uploads when idle:
{
  "enabled": true,
  "id": "transfer-manager",
  "settings": {
    "defaultPolicy": "idle",
    "policies": {
      "idle": {
        "all-traffic": {
          "constraints": {
            "concurrentTransfers": 4,
            "bitrate": "10M",
            "bitrateMode": "policy"
          }
        }
      },
      "busy": {
        "uploads": {
          "filter": { "direction": "up" },
          "constraints": {
            "concurrentTransfers": 1,
            "bitrate": "1M",
            "bitrateMode": "policy"
          }
        }
      }
    }
  }
}
The active policy can then be switched at runtime by calling the Transfer Manager's policy/set service — for example, from a Scheduler job or a Flow that runs when the robot transitions between operating states.
See the Transfer Manager component documentation for the full set of configuration options.