Configure Spot
This page will walk you through connecting Spot to the platform
Create an Extension file
Navigate to “Robots” on the left navbar

Select "Option 2: Register Your Robot"

If you have already registered a previous robot, you can add a new Spot via the Add Robot button in the top right of the Robots page.

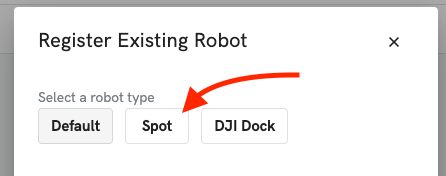
Select Spot
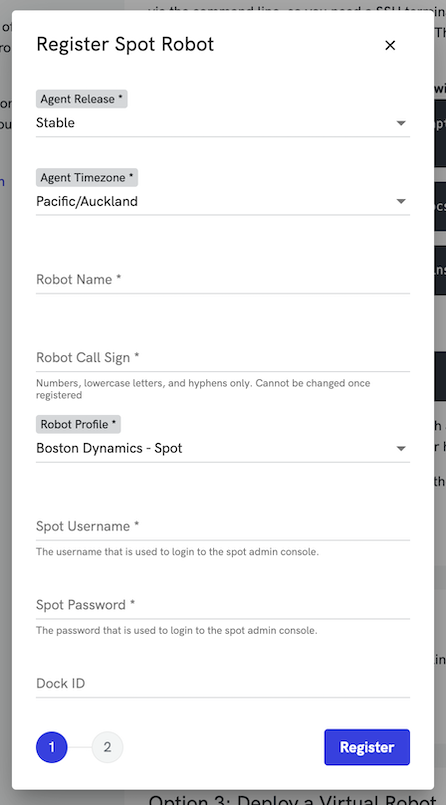
- Set the agent release type to run on spot (i.e. stable, unstable, dev, rc)
- Set agent timezone
- Set the robot name
- Set the robot call sign
- Enter the spot username (This is the username used to log into the spot admin console usually the admin username)
- Enter the spot password (This is the password used to log into the spot admin console usually the admin password)
- Enter the Dock ID (Usually the Boston Dynamics default is 520)
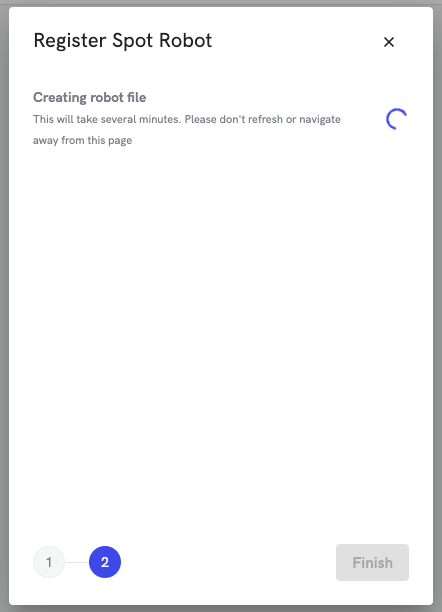
Click "Register" and wait for the spot extension file to generate. This will take a few minutes. When the extension file is ready click "Download Spot Extension File".
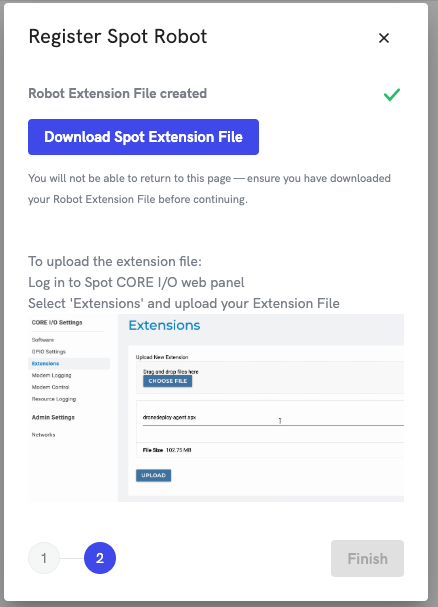
Uploading the Spot Extension file to the robot
Log into the Spot CORE/IO
- Navigate in your web browser to the ip address (i.e. https://192.168.50.3:21443)
- Use the configured spot username and password to log into the core
Make sure you are on the same network as Spot. See Spot's networking documenation here: Boston Dynamics - Spot Networking
Navigate to the extensions page
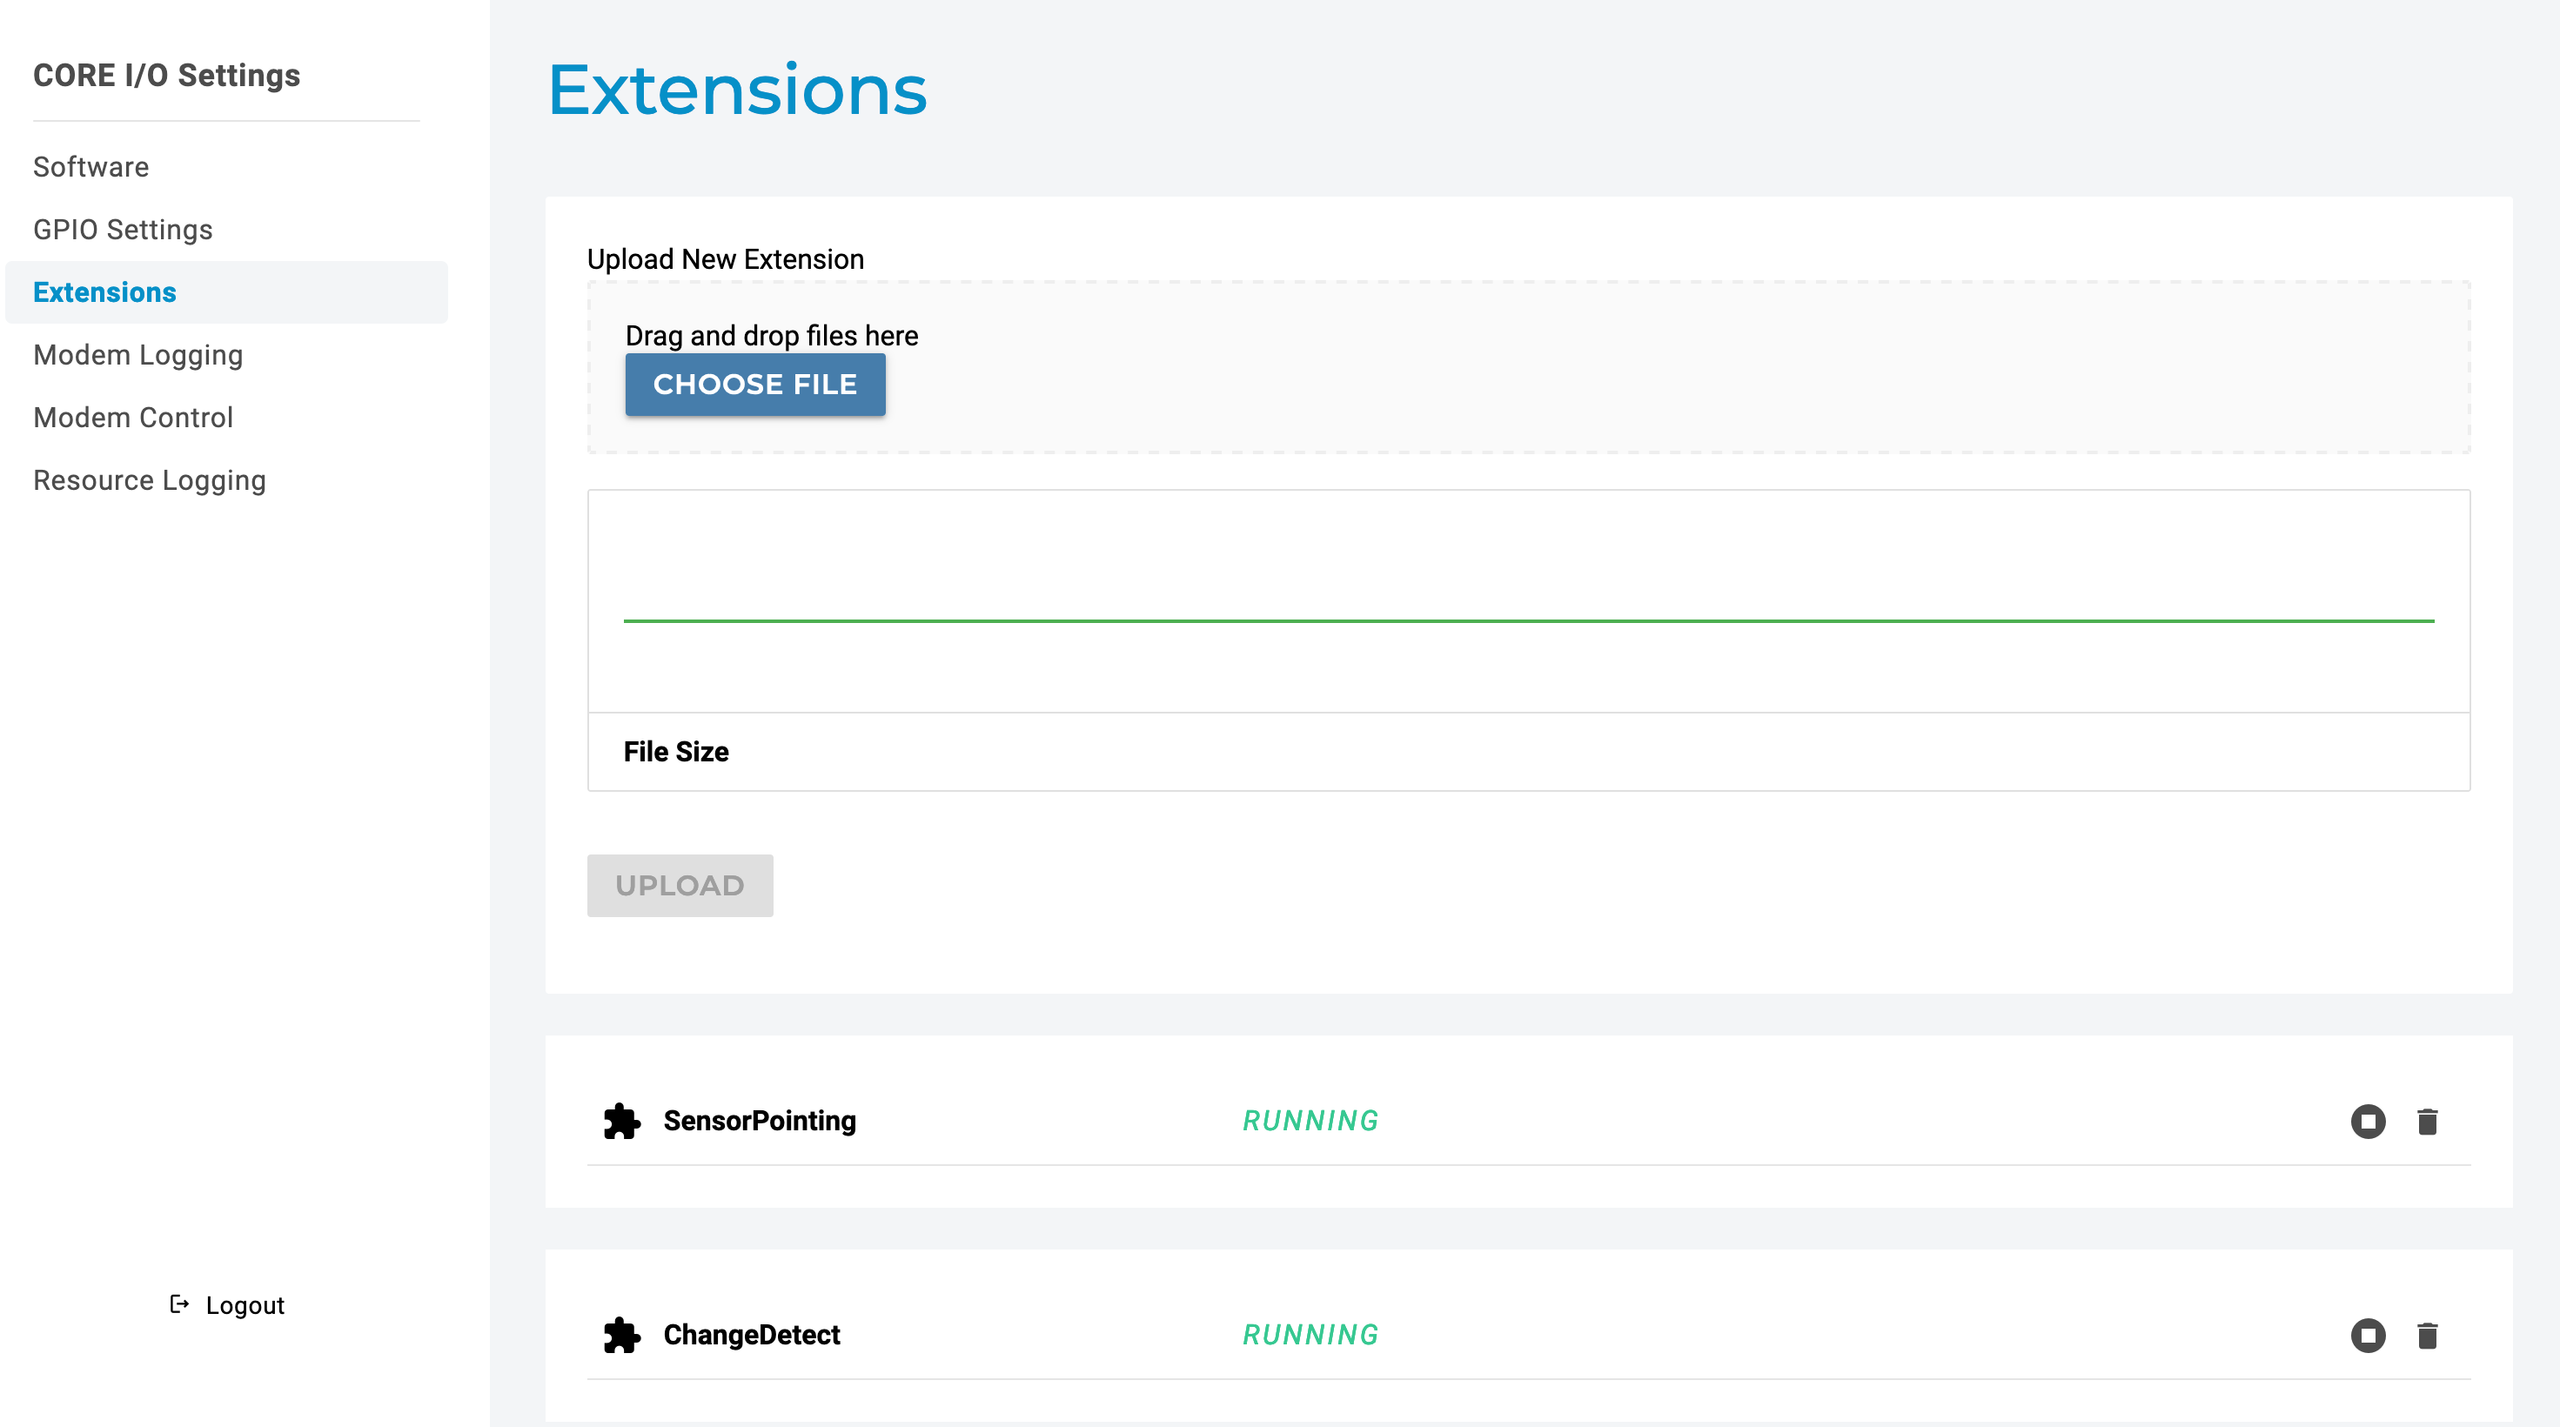
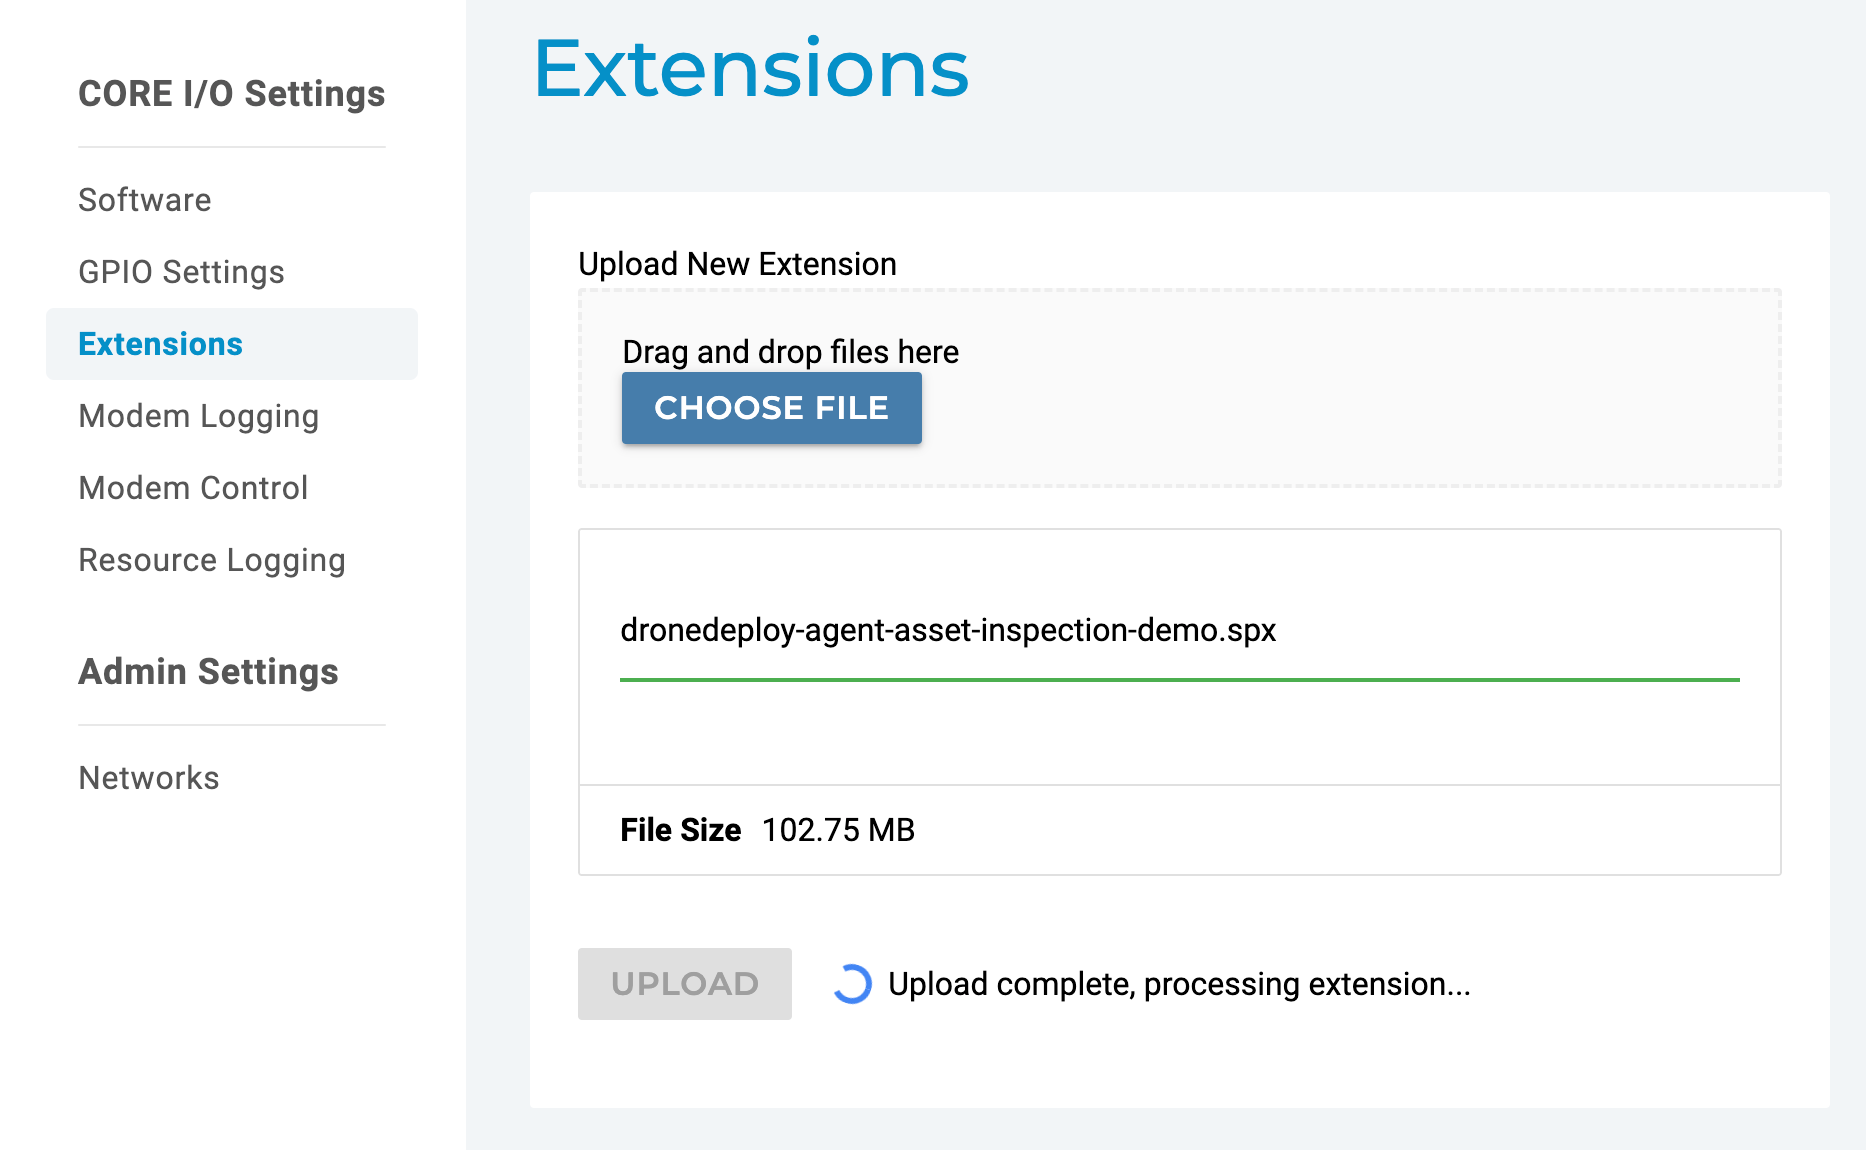
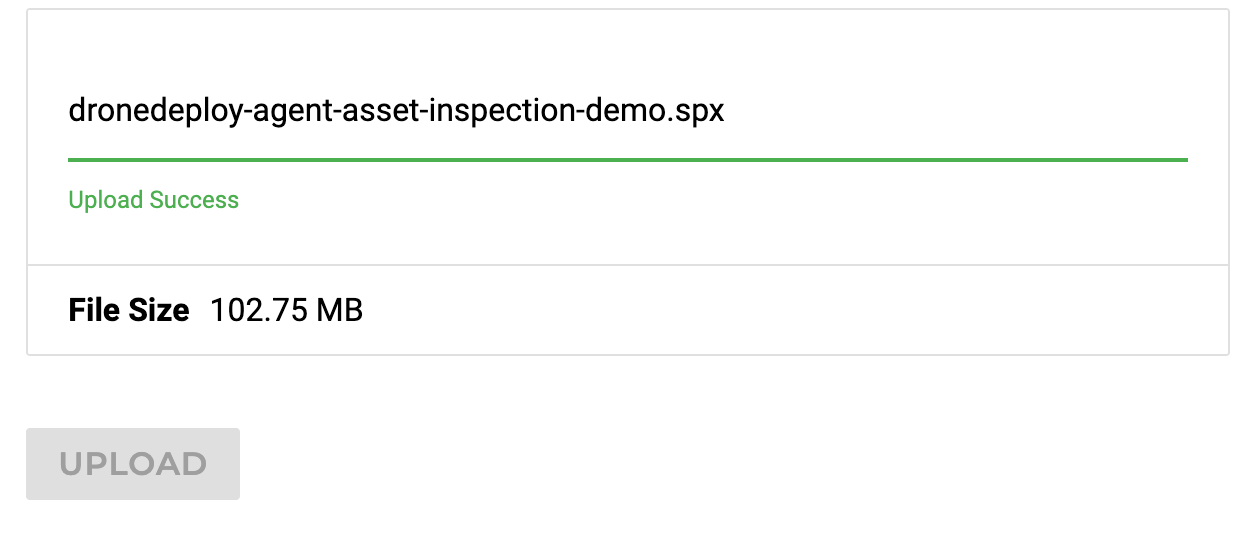
Upload the .spx file from the previous section by selecting the CHOOSE FILE button - The extension file should upload and then start running
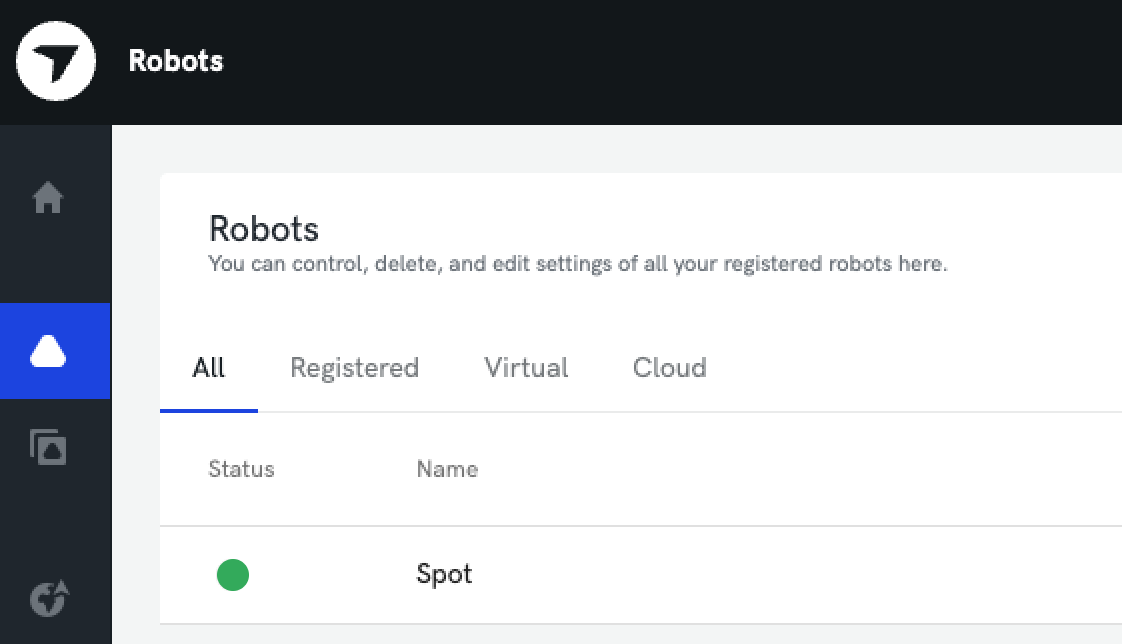
Check the robotics project and you should see your robot online
At this point please email us at [email protected] for access to standard workflows and dashboard configurations